Garmin map Pilot – map update in a few simple steps.
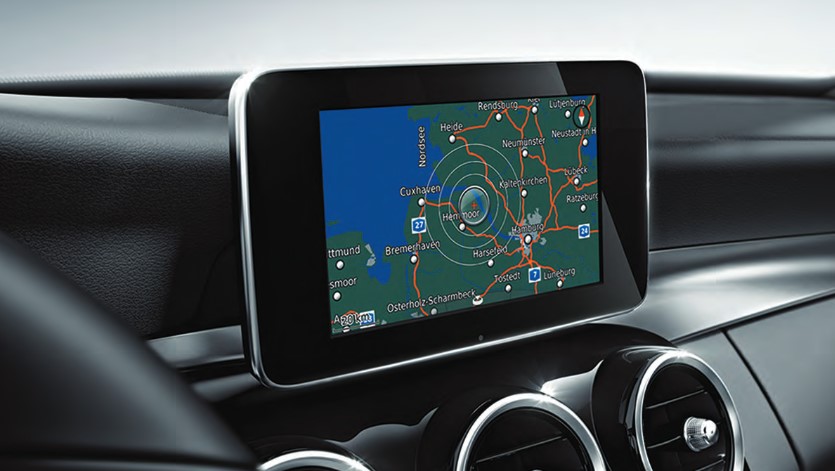
New map cards for Garmin Map Pilot navigation allow for one-time, free map update to the latest available version. In practice, this means that even if we buy a version of the map, e.g. from two years ago, we can run it and then download the latest map to this card. We have 60 days to do this from the first use of the card in the car.
To perform the updates, you will need a computer with an SD card reader and an accessible internet connection. The duration of the update depends on the speed of our connection, which can take several hours. You will also need two programs:
– ADOBE AIR – downloadable from the official Adobe website
– Mercedes-Benz Download Manager – download from the official Garmin Map Pilot website
– ADOBE AIR – downloadable from the official Adobe website
– Mercedes-Benz Download Manager – download from the official Garmin Map Pilot website
Step 1. Software installation
Install Adobe AIR software on the computer and then MB Download manager.
Step 2. Assigning the card to the car.
To assign the card to the vehicle, place it in the SD card reader in the car. After a while, a message will appear asking if you want to assign the card to this vehicle? – we approve and wait for the navigation to start. When the navigation starts you can remove the card from the reader.
Step 3. Software update
Insert the map card into the computer’s SD card reader and then run the Mercedes-Benz Download Manager program. You will need to log into the system – enter “DLM” as Login and “DLM” as the password. The available updates will appear on the next screen:
– Software Update – software update. This item must be selected
– Map Update. This option must be unchecked. The map will be updated in a later step. 
Additionally, the program asks us to back up the card? This is not a mandatory option, however, we recommend that you select the consent to perform the backup. Thanks to this, in the event of an update failure, it will be possible to restore the contents of the card. Software update takes about 10-15 minutes. Appropriate information will appear after its completion. We can close the program, remove the card from the device and go with it to the car.
Step 4. Reassigning the card to the car.
After updating the software on the card, it is necessary to reassign it to the car. We do it exactly the same as in step 2., i.e. we put it back in the SD reader in the car and confirm the question about assigning the card to the vehicle. After starting navigation, remove the card from the reader.
Step 5. Map update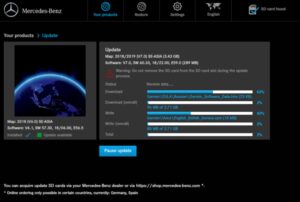
This operation is identical to the software update from step 3, with the difference that we can only choose a new map – this time we select this item. Again, we can turn on the card backup function, which may be useful in case of failure. Additionally, it is a good idea to disable disk suspend or hibernation in the system. The update may take from several to several hours. We are kept informed about the current progress by the program. When the update is completed, we will be informed about it with an appropriate message, after which you can remove the card from the reader.
Step 6. Go!
Place the card in the reader in the car and leave it there. The card must be in the reader for the navigation to work. We enter our destination and we are on our way.